33
I just rendered one of my builds using blender! :D
(files.catbox.moe)
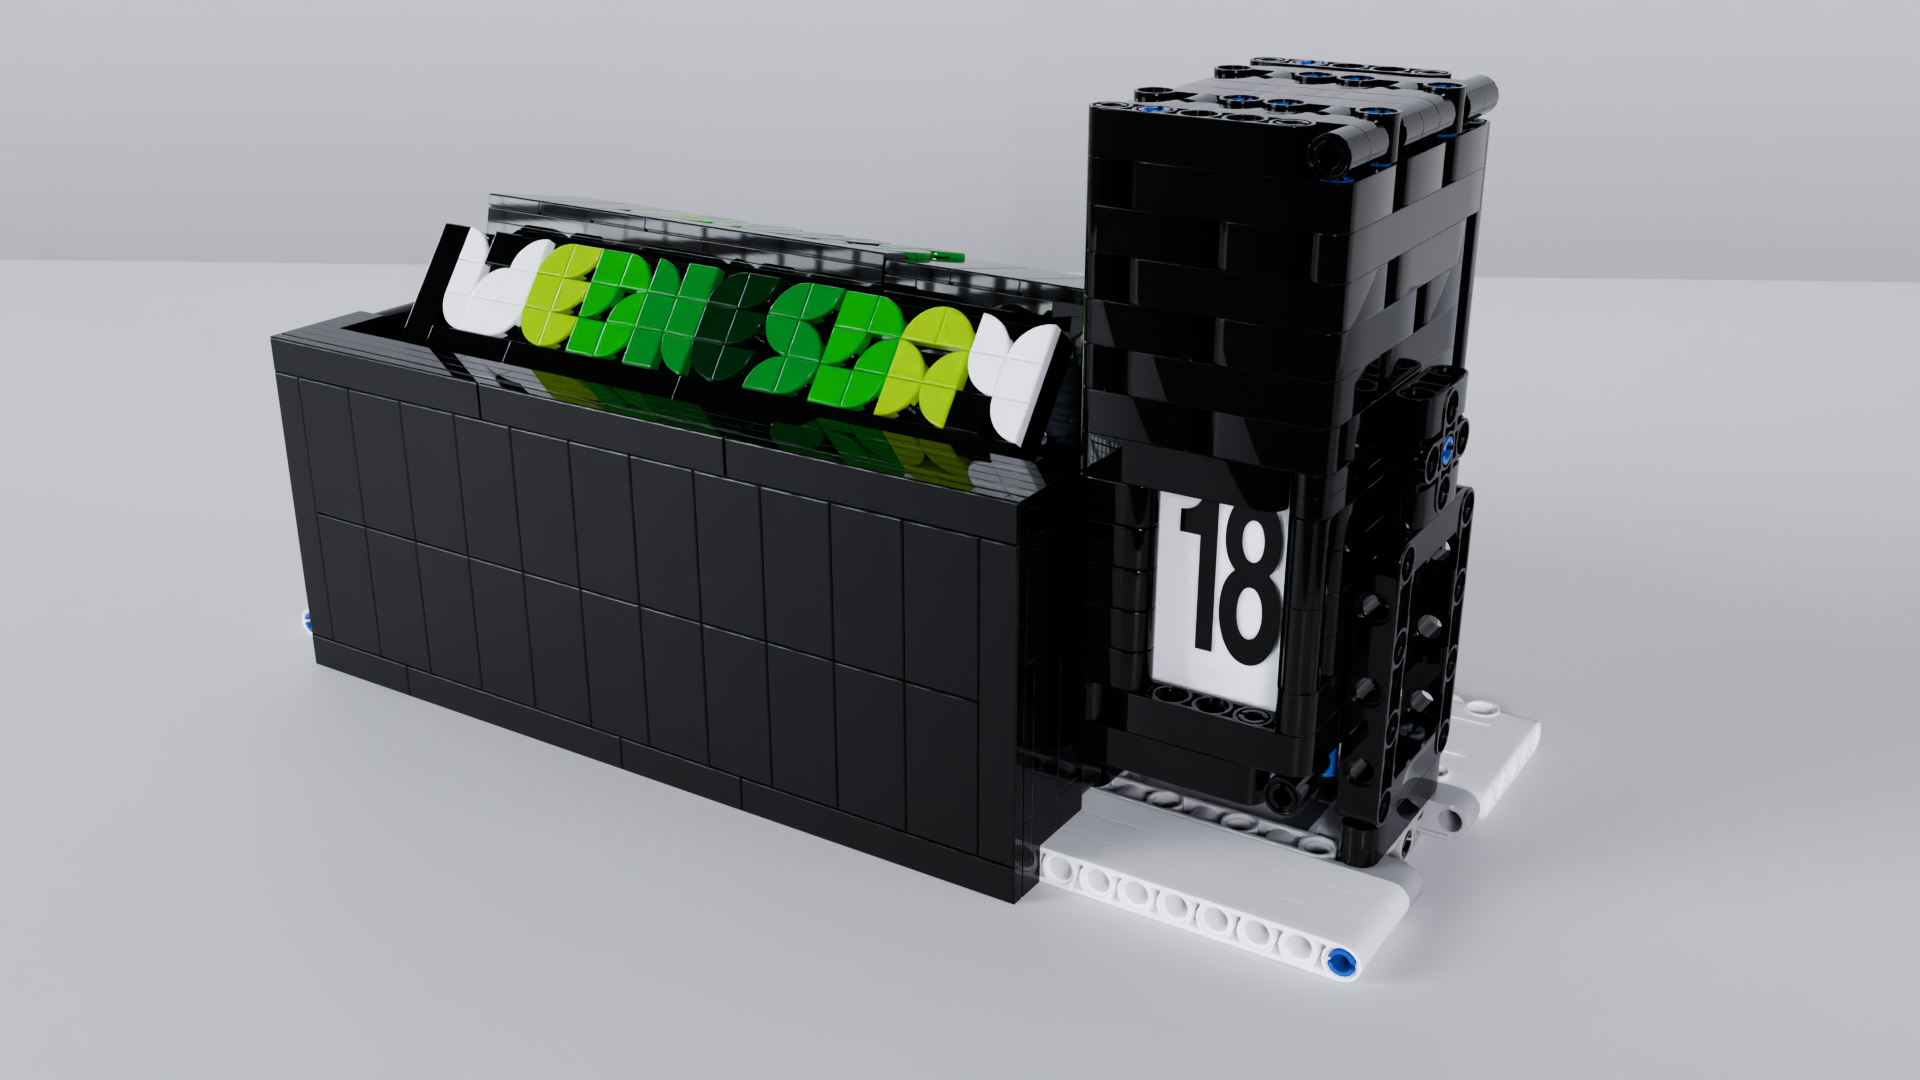
It took me about ten hours from start to finish to model this in Studio, edit positioning in Mecabricks, and then add the lighting and non-Lego elements in Blender. It's my second time using blender, so I'm super happy with how it turned out!
This is a mechanical perpetual calendar, so you can flip the date forward and it will shift a new date into view, as well shift the day forward.
Instructions will come soonish.
Neat! You got the look of plastic down pat.
I recommend giving some imperfections a try. Adding some scratches and a fingerprint or two does wonders in making a render like this look real.
I definitively will! Do you have any tips for how to do that? I did a quick search before I rendered this but I couldn't figure it out.
You'll want to look for "dirt-" or "grungemaps".
Then either manually uv map the model or use a basic UV projection mode to apply the texture to the materials.
Then you plug the texture map into the places you think it should go. Fingerprints, for example, show up as a reduction in specular reflectivity, rather than any color.
IIRC Andrew price has a video on dirt and grunge mapping. That's how I first learned about it.
Cool thanks, I'll check that out for sure.